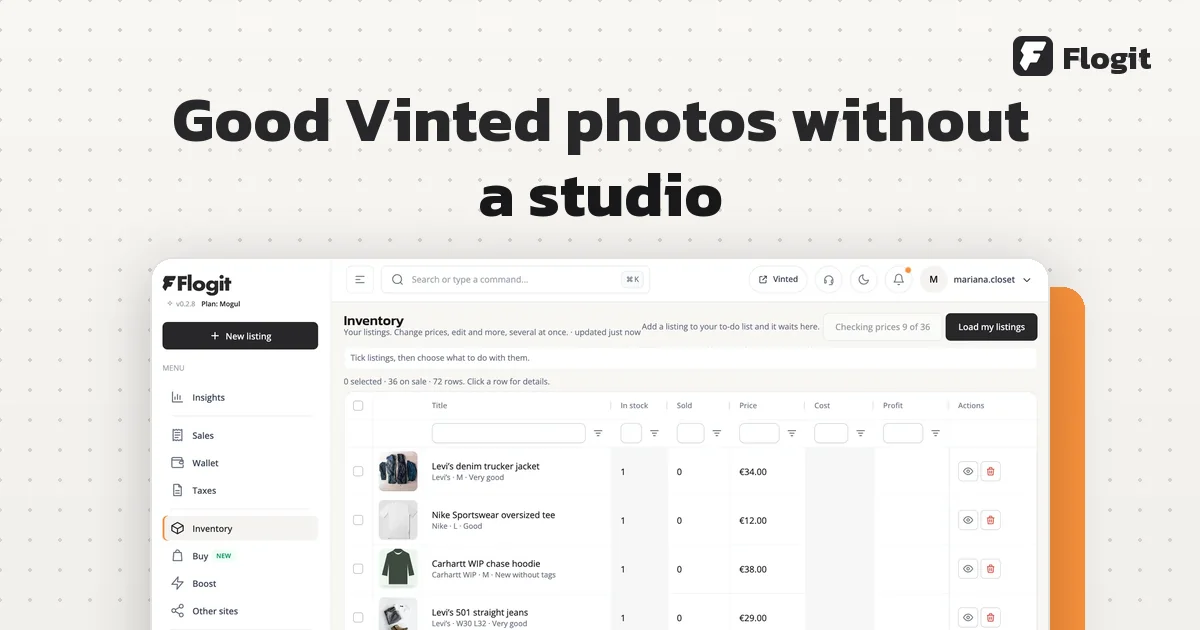
Good Vinted photos without a studio
You do not need a camera or a lightbox. A window, a plain wall and your phone do the job. Here is what to shoot, in what order, and what Vinted allows.
Shoot in daylight, next to a window, on a plain background, with no flash and no filters. Start with the whole item from the front, then the back, the labels, the details and any flaw. Use only photos you took yourself: Vinted allows up to 20 per listing.
Light: stand next to a window
Vinted's own advice is short: take pictures in daylight, without flash or filters. Daylight shows the real colour. A lamp turns white into yellow, and a flash flattens the fabric and adds a hard shine. Source: Tips for great photos
Put the item close to a window, with the light coming from the side. Turn off the ceiling light, so two colours of light do not mix. Direct sun makes dark shadows, so a cloudy day or a window that does not get the sun is better.
Before you start, wipe the phone lens with a soft cloth. Tap the screen on the item so the phone focuses on it. Step closer instead of zooming in.
Background: plain and tidy
Vinted asks for a clear, neutral background with no distractions. You do not need to buy anything for that. A white wall, a light door, a bedsheet on the bed or a clean wooden floor all work.
Look at the edges of the photo before you press the button. Remove the laundry basket, the cables, the pet and the other clothes. The buyer should see one thing: the item you are selling.
What to shoot, and in what order
Vinted says the first photo must show the whole item, and it asks you not to use collages. After that, its help page for branded items gives a simple order. It suggests at least 3 close-ups of details, and proof of purchase when you have it. Source: How to take photos of branded items
The whole item, from the front
It is the photo people see first. Centre the item and leave a little space around it.
The back
Turn it over and take the same shot. A print or a mark on the back is easy to miss otherwise.
The labels
The brand label, the size label and the care tag. Make sure the text is sharp enough to read.
The details
Zips, buttons, stitching, the logo, the lining. On shoes, the sole and the insole.
Any flaw
A small hole, a missing button, a faded patch. One close-up for each.
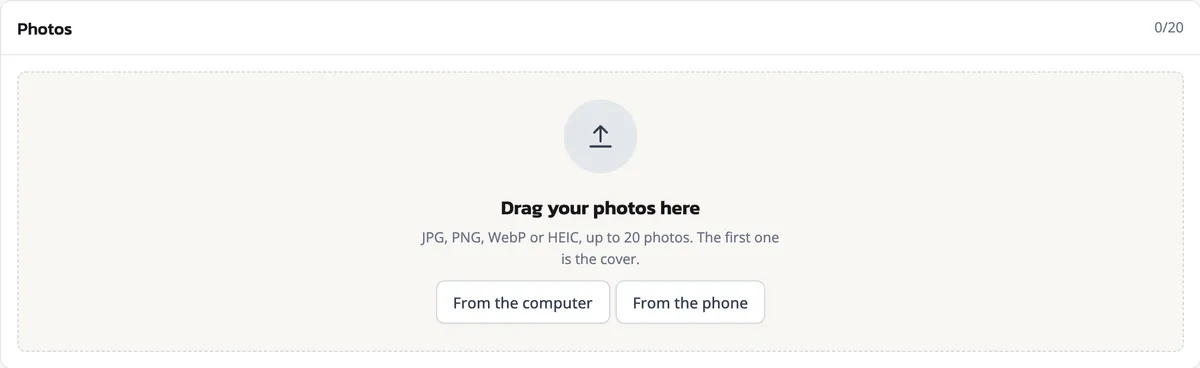
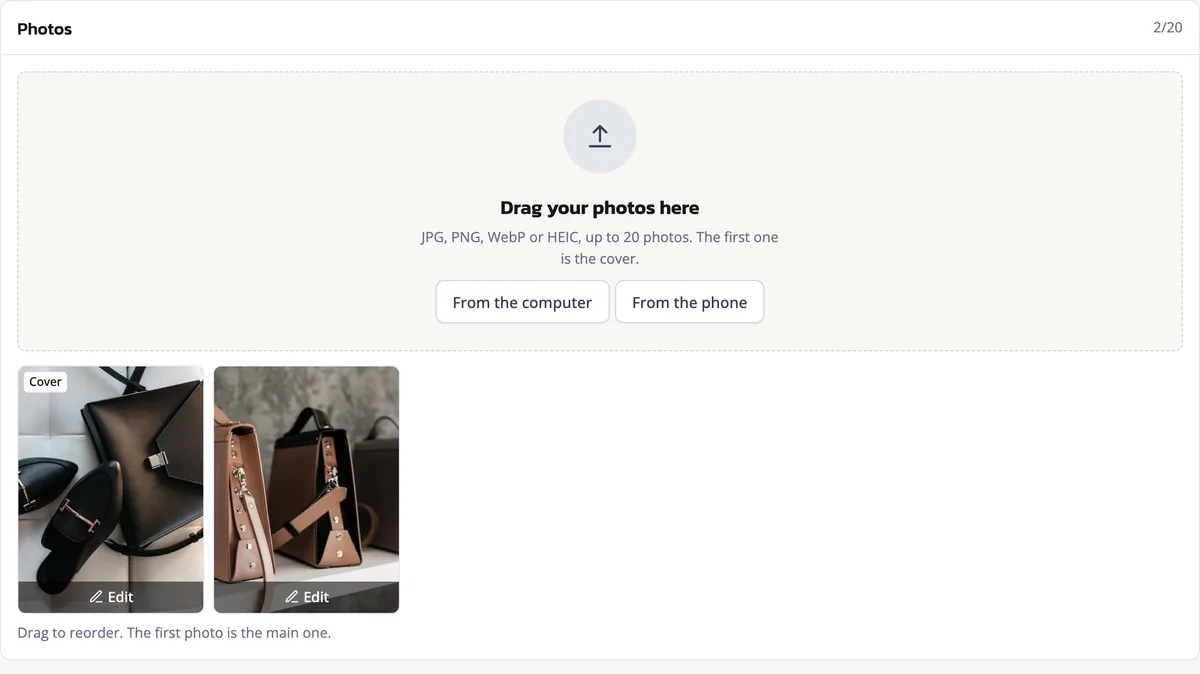
You can add up to 20 photos to one listing. You do not have to use them all, but every photo should tell the buyer something new. Source: Uploading step by step
Flat lay, hanger or worn
Vinted's tips show the item on a hanger, and they say to keep faces out of shared photos. Source: What photos you should upload
| How | Good for | Watch out for |
|---|---|---|
| Flat lay | T-shirts, jeans, kids' clothes, bags | Smooth out creases and shoot from straight above |
| Hanger | Dresses, coats, shirts, jackets | Hang it on a door or a plain wall, not in a crowded wardrobe |
| Worn | Showing the fit and the length | Crop out your face and check the mirror for anything personal |
A flat lay is the easiest to repeat: same spot, same light, every time. Your whole wardrobe then looks tidy in a buyer's feed. A photo worn is a good extra, not the first photo, since the first one should show the item alone.
Show the flaws up close
Vinted is clear on this. Show the item's defects in the photos. If you do not, the buyer may want to cancel the order and send the item back.
Vinted's catalogue rules add that photos must show the item as it is, with no image editing. They must also be sharp and clear. Source: Vinted catalogue rules
Put a finger next to a small mark so the buyer sees the size. Write the flaw in the description too. A buyer who saw the flaw before buying has no reason to be surprised.
The photo rules Vinted sets
Some of the advice above is only good practice. These points are Vinted's rules for every listing.
- The photos must be taken by you, for your Vinted listing.
- No stock photos, no photos from ads, no pictures found online and no watermarked images.
- The first photo shows the whole item.
- No image editing: the item looks the way it really is.
- No references or links to other websites or platforms in the listing.
Vinted explains why photos from the internet are a problem: they are copyrighted, and they may not show the current condition of your item. It encourages everyone to take their own pictures of the item as it is today. Source: Can Vinted use my photos?
A receipt can show your name and address, so cover them before you take the photo. Check mirrors, windows and shiny surfaces for your face or your home. Envelopes and parcels with your address stay out of the shot.
Small habits that save time
Photograph several items in one go, at the same spot, while the light is good. Iron or steam anything creased first, and pass a lint roller over dark fabrics. Keep one bag with your hangers, a lint roller and a cloth for the lens, so setting up takes a minute.
Take the photos in the same order every time: front, back, labels, details, flaws. When you upload them, they are already in the right order and you do not need to sort them.
Flogit writes the title, description, category, brand, size, colour and condition from your photos. A sharp shot of the labels and the flaws gives it more to read, so the draft needs fewer changes before you publish it. Read more about how Flogit writes your listings.